Salty Sam’s Fun Blog for Children
Number 100!!!
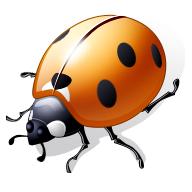
Ladybirds
Hello Everyone
Welcome to my 100th blog!!! ![]()
Today l am going to talk about a small creature and a big project…
Most children like ladybirds.
Bill and Bob made some insect hotels some time ago to help bugs like ladybirds shelter through the winter.
l’m glad to say that they were a great success.
Ladybirds are named after Our Lady – a name some people use to refer to the mother of Jesus who was depicted in early paintings as always wearing red.
You might also like to know that a group of ladybirds is called a ‘loveliness’ – a loveliness of ladybirds.
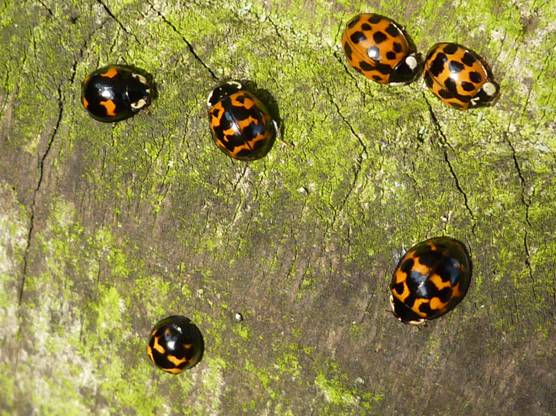
Ladybirds are known for their distinctive red backs with black spots on them but actually there are thousands of different types in the world and 26 in Britain.
They are red, yellow, orange and not all of them have spots; some have stripes, patches or streaks.
The coloured backs that you see are not actually their wings but a case covering the wings. The wings underneath look much more like a bee’s wing. When the ladybird takes off, the cases lift up and the wings take the ladybird into the air. You can only see this properly on slow motion film, it is quite hard to see otherwise.
Gardeners and farmers love ladybirds because they eat greenfly which damage plants. Scientists have discovered that there are more ladybirds living in gardens than on farmland so all the insect hotels that children are making must be working!
And in many countries of the world, if you see one, you are supposed to make a wish.
So next time you see a ladybird, don’t forget to make a wish – and then let it go free.
Tell me if you wish comes true.
Bye bye everyone – don’t forget to subscribe to my blog!
Love and kisses
Salty Sam

www.christina-sinclair.com

Bill and Bob’s Joke of the Week![]()
![]()
Bob: Why was the ladybird banned from the wood?
Bill: l don’t know. Why was the ladybird banned from the wood?
Bob: Because she was being a litter bug!
Salty Sam © Christina Sinclair 2015
Unauthorized use and/or duplication of material from this blog without express and written permission from this blog’s author and owner is strictly prohibited.
Links may be used to www.christina-sinclair.com
Picture Gallery
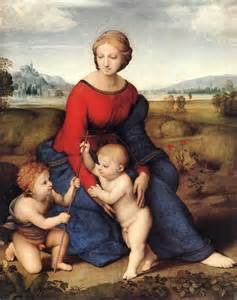
The Madonna
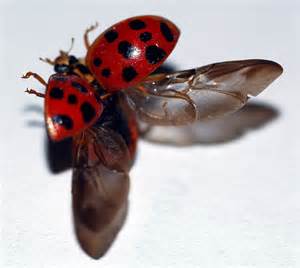
A ladybird’s wings
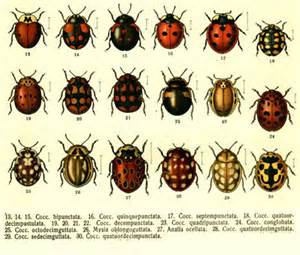 Different ladybird markings
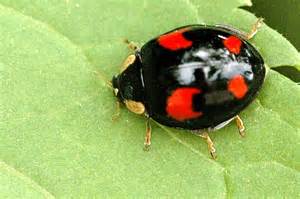 Ladybirds are not just red with black spots
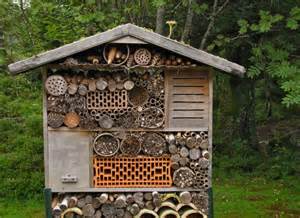 A very large insect hotel
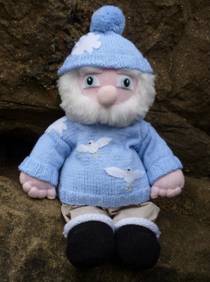
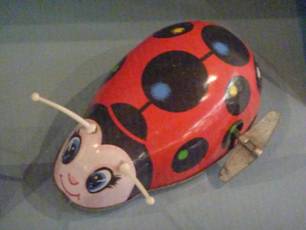 A 1970s clockwork ladybird
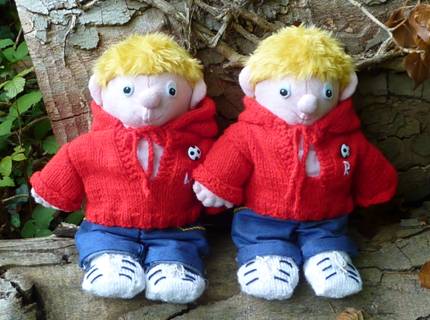
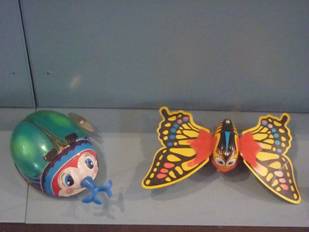 Two of her friends
 Ladybird children’s clothing was sold in a shop called Woolworths
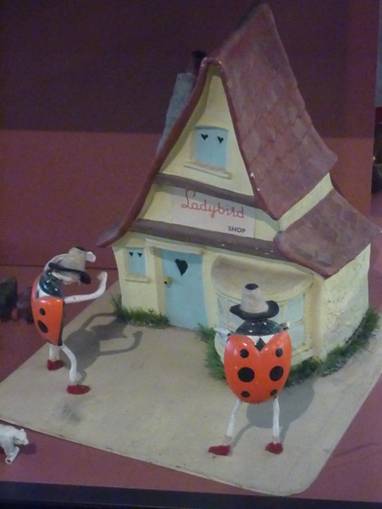
 Two friends
 ![]()
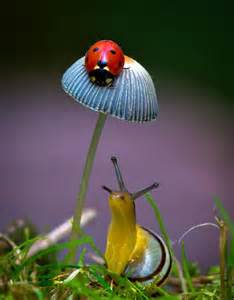
 A loveliness of ladybirds
 THE SALTY SAM NEWS DESK

One of the most colourful characters you will find around here is known by all the children as Bobo the Clown.
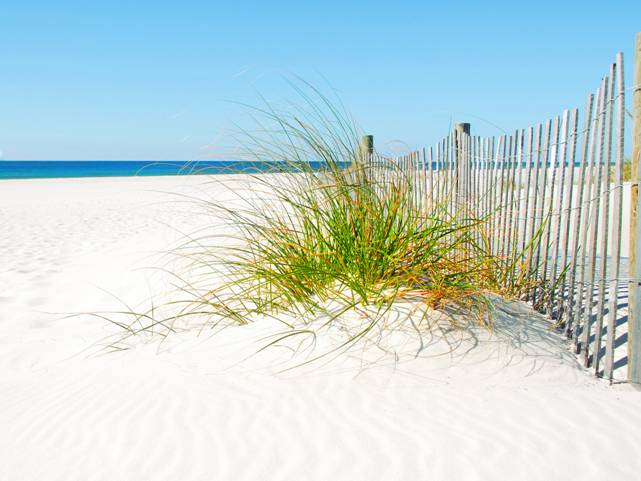
He is found on the beach at Sandy Cove all summer long entertaining the holidaymakers with his funny mimes and conjuring tricks. He has all manner of things secreted up his sleeves that he produces seemingly out of nowhere in order to surprise and thrill the groups of children that gather around him.
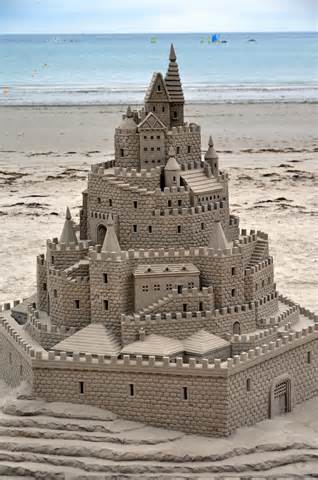
He also has a very important job. He judges all the sandcastle competitions.
In fact Bobo’s real name is Joe King. When he takes off his clown’s costume and make-up and goes home to his cottage in Rocky Bay he would be unrecognizable to anyone who had just seen him as Bobo.
Actually, the beach entertainment at Sandy Cove is a bit of a family affair.
Joe King’s brother is the Punch and Judy man on the promenade.
He spends most of his time in a tent; he is Saul King.

Writing my 100th blog!

**********************
**********************

Quick Quiz
Do you know the names of these things – they all have ‘red’, ‘yellow’ or ‘black’ in the answer?
- a kind of thrush
- a kind of fruit growing on brambles
- a kind of bird that sounds like a tool
- something to write on
- a giant tree
- a person who works with iron
- a kind of disease found in parts of Africa and South America
- a joke name for a family member who misbehaves

BLOW MY FOGHORN!!!
PLUS
Salty Sam fans can join in with their comments and share them with children all over the world. You will need permission if you are not an adult.
Enter your e-mail address to subscribe to my blog and receive new Salty Sam Blog Posts for free by e-mail every week. Your address will be kept private and will not be shared with any third party.
Sign me up at the side bar
lt’s the Weekend!
HOW TO MAKE A FARMYARD
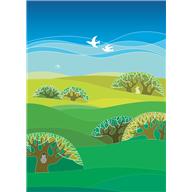
They say that if you take a bird’s eye view (or I suppose a ladybird’s eye view as well) of the English countryside, it looks like a patchwork quilt. Here is a way of making a patchwork quilt look like the English countryside!
Of course if you want to make this farmyard, you can make it look like the place you live as well if you don’t happen to live in England.
You may need the help of an adult; this is a big project.
HOW TO MAKE YOUR FARMYARD QUILT
- Firstly, you need to get a piece of fabric as big as you want your farm to be – taking into consideration how big your toy animals and buildings are, and hem around the outside. This will be the base to start putting all the parts of the farm landscape on.
- Then you need to draw a plan of how you want your farm to look on a piece of paper.
- Next, find some cheap, quite thin fabric that will not fray when it is cut. Put your buildings on top of it and draw around them. Cut out the shapes and sew them onto your farm base to indicate where the buildings should be placed. These patches need to be flat so that the buildings can sit on them without tilting.
- Then you can have fun covering the rest of the base with different surfaces. Remember to use washable fabrics – (although it would probably be better to hand-wash your project if you feel it needs washing).
- Earth surfaces can be created in light-brown felt or fabric.
- Stone surfaces can be created from light-grey felt or fabric with the odd stone added in satin stitch using a different shade of grey embroidery thread. You might want to use these for pathways in the garden outside the farmhouse.
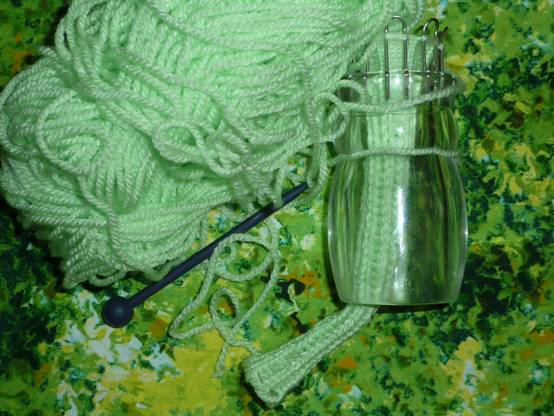
- Make conifers by taking different shades of green threaded into a yarn needle and sew it into itself over and over. Make a few knots in the yarn at the beginning to get you started. Start at the bottom of the tree and work up. Then rest or glue the conifers on an upturned bottle top to give them all a flat bottom or sew into the base.
- Ploughed fields can be knitted squares or rectangles. Use brown dk knitting yarn and knit in a 4 row pattern (k1 row, purl 1 row, purl 1 row, knit 1 row). You can use green yarn for a field of sprouting corn and yellow for a cornfield that has just been harvested. A textured or multicoloured yarn will make it even more interesting. (You will need to cast on about 18 stitches for every 10cm of width that you want.)
- You can run a few French knots worked in green yarn along the ridges of a ploughed field if you would like to start a crop growing in it.
- Grass can be a mottled-green, patterned fabric or green felt. The surfaces need to be flat so that the toy animals can stand up.
- The duck pond can be made from blue felt – it needs to be flat.
If you vary the surfaces and colours, the farm base will look more interesting with a variety of soils and crops. If you are using any fabrics that need to be hemmed, cut extra seam allowance when measuring out your patches.
Hem the fabrics that need to be hemmed. Remember you don’t need to stick to rigid shapes; fields are not always exact rectangles.
You need to think carefully about your design before you start. This project is a really good way of using up left-over fabrics.
Put everything together on the backing fabric and when you are happy with the whole design, sew into place.
MAKING HEDGEROWS
Take lengths of rainbow-green, textured yarn and knit it into strips using garter stitch. Then sew each strip into a thin tube and stuff it unevenly with lumps of toy stuffing. The more uneven the finished effect; the more it will look like a hedge. Work some French knots very loosely along the top if you want extra texture on the top.
The wider your strips; the fatter the hedge will be so you have to decide how big and long you want each hedge to be. They have to fit in with the size of farm set you have.
Otherwise, you could make hedges with a knitting dolly.
HOW TO USE A KNITTING DOLLY
Different dollies will make different widths of knitting according to the size of the hole in the centre of the body. You can buy one or make your own with a wooden cotton reel and four nails.
Pull the end of your yarn down into the centre of the dolly and hold on tightly to it underneath with the same hand you are using to hold the dolly. Then proceed to loop the yarn around the pins situated around the top edge.
Bring the yarn forward around the right side of the first pin, then around the front and behind the left side taking it on to the right side of the pin to the right.
When all the pins have been looped around, stretch the yarn across behind the pin to the right (the first pin you looped around), and using a prong, hook the loop from the pin over the length of yarn you have stretched behind it.
Continue to work your way around and the knitting will begin to show at the bottom of the doll. Some dolls are made of clear plastic so that you can watch your work developing inside.
When you have the length you desire make sure that you secure the ends carefully so that the knitting does not begin to unravel, a yarn sewing needle helps with this.

FINALLY
When stuffing toys you can save money buy using old washed tights cut into small pieces.)
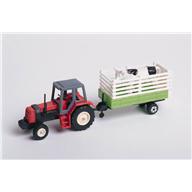
Accessories like gates and hay bales are often provided with the farm set.
When you have finished playing with your farm, you can just roll your fabric landscape up and put it away!
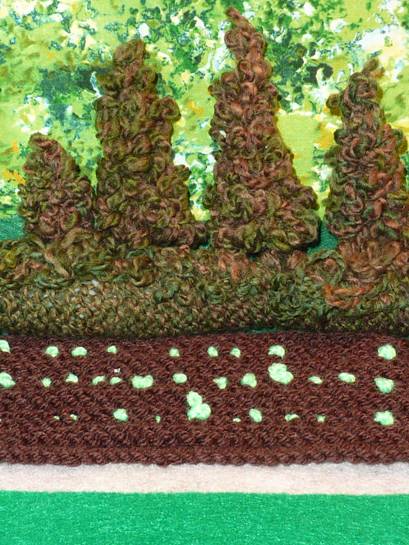
Trees, a hedge, a knitted ploughed field with a crop beginning to sprout,
a felt path and felt grass – sew everything into place on a backing and the farm can be rolled up and put away
TIP
Of course you can use this idea to make roadways for cars. Just incorporate a space for a garage rather than a farmhouse.
Please note that the material on this blog is for personal use and for use in classrooms only.
It is a copyright infringement and, therefore, illegal under international law to sell items made with these patterns.
Use of the toys and projects is at your own risk.
©Christina Sinclair Designs 2015
Quick Quiz Answers
- a kind of thrush – a redwing
- a kind of fruit growing on brambles – blackberry
- a kind of bird that sounds like a tool – a yellowhammer
- something to write on – a blackboard
- a giant tree – a giant redwood
- a person who works with iron – a blacksmith
- a kind of disease found in parts of Africa and South America – yellow fever
- a joke name for a family member who misbehaves – a black sheep
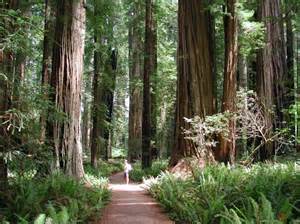
Giant redwoods
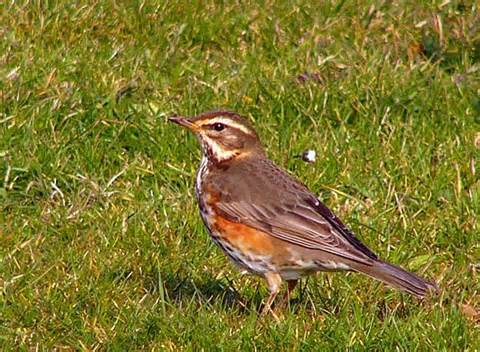
A redwing
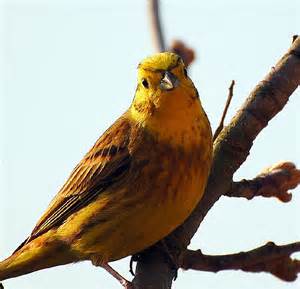
A yellowhammer