Salty Sam’s Fun Blog for Children
Number 245
Painting Henry’s Attic
Hello Everyone

So this week, Reckitt and Stackett moved out of Henry’s attic. They took all their tools and bits and pieces and peace reigned once more in the Rocky Bay Chip Shop.
Although Henry’s mum said that she didn’t know if she would ever be able to get rid of all the dust they left behind. lt had constantly been raining dust throughout the whole house for over two weeks.
But anyway, now the fun part could start for Henry. He could start painting his new play room to brighten it up a bit.
He thought a whole room in plain white was just too boring.
Henry has thought long and hard about how he wanted to decorate his attic these last few weeks.
At first he thought that he would paint the bottom of the end wall green and the top half blue and then draw farm animals on the green grass because he really loves visiting Farmer Jenkin’s farm and seeing all the animals there.
But then he wondered if it wouldn’t be more jolly to have a beach scene instead. He could paint a picture of a beach like the one at Sandy Cove and draw people on deckchairs sitting under brightly-coloured parasols eating ice cream.
But then he thought that would be a really difficult thing to draw and if he chose something simpler the whole thing might turn out better.
Then he thought that it would be nicer to have an underwater scene in his room instead. He thought he could paint the bottom of the wall a dark yellow and the top part a beautiful blue and then he could glue pictures of sea creature all over it.
And then he could stick rhinestones above the creatures to have sparkly air bubbles coming out of their mouths. That would look really pretty when the sun shone through the skylights and lit up the end wall.
He could have a sea theme in the shower room as well with a soap dish shaped like a shell and then a seahorse at the end of the light pull.
He did live at the seaside after all.
But then as Henry was looking through one of his comics a wonderful thought came to him as quick as a flash.
Henry had received a lovely telescope on his last birthday and he was learning all about stars and planets and galaxies from books he had bought with his pocket money.
That is what he would decorate his new room with – a space theme!
After all, when he was at the top of the house at night he could see stars through the skylight above him. He could even set his telescope up there to watch the stars in the dark evenings.
So the end wall was painted blue (by Henry’s dad) – not too dark a blue, and Henry stuck some silver stars at the top of it.
Then he cut some shapes out of big sheets of dark paper to look like houses, fences, trees and hills and stuck them along the bottom of the wall to look like the silhouettes of things that you see in the landscape at night. He needed quite a few sheets of paper.
All the other walls were still white so the room was still quite bright.
Then he made some papier-mâché shapes of the planets of the Solar System, and he added in Pluto, painted them in bright colours and hung them up from the rafters with thread so that they looked like they were drifting through the heavens.
He stuck the papier-mâché on some balloons that he had blown up first so that it wasn’t too difficult to get the round shapes that he needed.
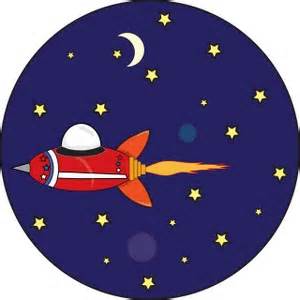
Then he made a space rocket using an empty plastic bottle and hung that up too.
Henry could imagine himself in the rocket flying through space to visit all sorts of weird and wonderful planets in the galaxies.
His dad found an old book case in the shed; cleaned it and painted it. Henry started stacking books and comics on it – and Henry had begun to move in to his new play room.
Bye bye everyone – don’t forget to subscribe to my blog!
lf you like my blog, please support it by telling all your friends and followers about it.
Thank you!
And see you again next Fun Friday!
Love and kisses
Salty Sam

www.christina-sinclair.com

Bill and Bob’s Joke of the Week![]()
![]()
Bob: What kind of coat can you only put on when it is wet?
Bill: A coat of paint!
Salty Sam © Christina Sinclair 2015
Unauthorized use and/or duplication of material from this blog without express and written permission from this blog’s author and owner is strictly prohibited.
Links may be used to www.christina-sinclair.com

Picture Gallery
 The planets Henry made
 The Earth is the third planet from the Sun
 Stars
Stars
 A telescope
 THE SALTY SAM NEWS DESK

This week we had an end of summer barbeque in Auntie Alice’s garden.
All the family was there as well as Roger’s family and Henry’s (they were grateful to get away from the smell of paint for a while).
Captain Jack and Betty Clutterbuck were there too and so were Mr and Mrs Jenkins and their family.
We held it on a Sunday so that nobody had to go to work.
We are all vegetarians and there are plenty of burgers and sausages in the Rocky Bay Supermarket for us to use.

Auntie Alice had been tidying up the garden so that it would look nice.
Some of her herbs in the garden near the kitchen door were looking a bit ‘leggy’ as she calls it, and instead of putting the dried up stalks on the compost heap she kept them to put on the hot coals of the barbeque.
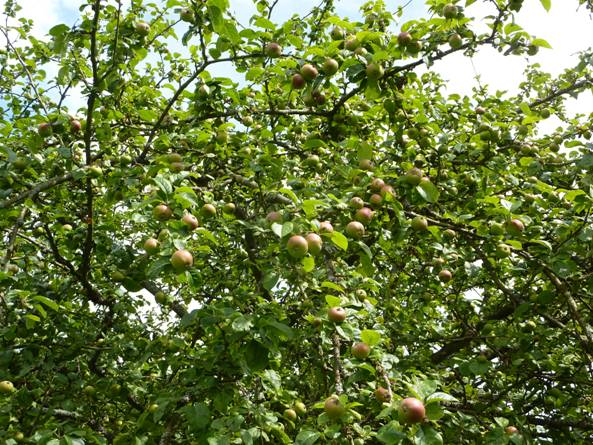
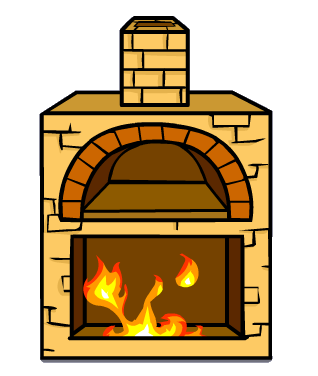
She put sage and rosemary ones on the main barbeque and some thyme stalks on the coals in her new pizza oven that she has bought for the patio. The fragrances were carried on the warm wind to the end of the garden, across the orchard and into the woods beyond.
She made a big pot of chili and people could use it to fill tortilla wraps with salad leaves from the garden and grated cheese – from Mrs Jenkins thriving, new cheese kitchen.
Auntie Alice said that the children could choose their own pizza toppings from some tubs she put out with different things to choose from.
She put lids on the tubs – after all she didn’t want insects dropping into the food – if a fly had dropped into the black olives, no one would have seen it!

So the whole garden was filled with playing children and the smells of delicious food – a lovely way to end the summer!


*********************
TO ADVERTISE ON THIS BLOG
PLEASE CONTACT:
christina.sinclair.ads@aol.co.uk
*********************

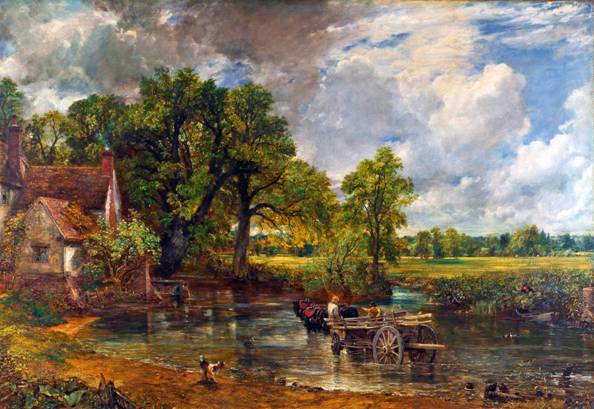
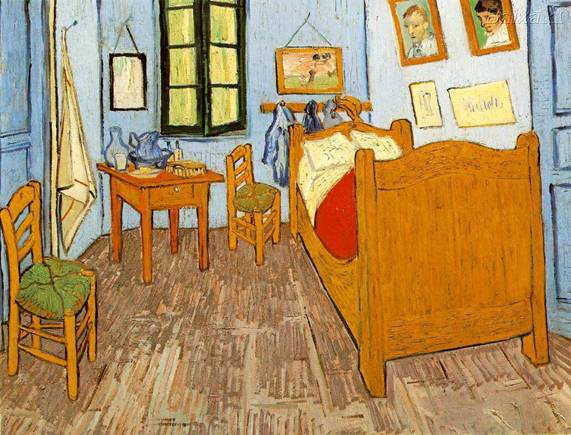
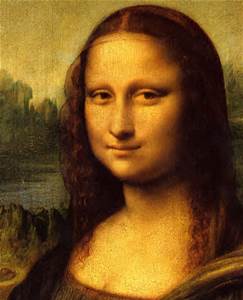
Quick Quiz
Do you know who painted these pictures?
1.
2.
3.

4.
5.


lt’s the Weekend!

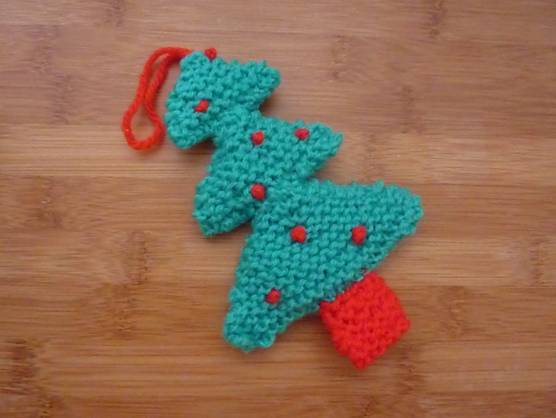
HOW TO MAKE A KNlTTED FlR TREE
If there is no room in your bedroom for a big Christimas tree, there will always be room for this little one.
If you are a slow knitter and you want to knit some decorations and presents for the forthcoming festivities, you had better get started knitting now!
KNITTED FIR BOTTOM (KNIT TWO)
Using 4mm knitting needles and green dk yarn cast on 20 stitches
Knit 4 rows in garter stitch
Continue knitting in garter stitch decreasing 1 stitch at the beginning of every row until one stitch remains and then cast off leaving a length of yarn for sewing the pieces together.
*It is very important to pull your yarn very tight after you have knitted two stitches together at the beginning of each row to ensure that you create a neat edge.
KNITTED FIR MIDDLE (KNIT TWO)
Using 4mm knitting needles and green dk yarn cast on 14 stitches
Knit 4 rows in garter stitch
Continue knitting in garter stitch decreasing 1 stitch at the beginning of every row until one stitch remains and then cast off leaving a length of yarn for sewing the pieces together.
KNITTED FIR TOP (KNIT TWO)
Using 4mm knitting needles and green dk yarn cast on 20 stitches
Knit 4 rows in garter stitch
Continue knitting in garter stitch decreasing 1 stitch at the beginning of every row until one stitch remains and then cast off leaving a length of yarn for sewing the pieces together.
KNITTED FIR POT (KNIT TWO)
Using 4mm knitting needles and red dk yarn cast on 6 stitches
Knit 8 rows in garter stitch
Cast off
TO MAKE UP
- Sew the top of the pot to the middle of the bottom of the bottom piece of the fir
- Sew the middle part of the fir to the bottom part and the top of the fir to the middle – the best way to do this is to lay the base of one part on top of the point of the one beneath – do not try and attach it to the point otherwise you will have an unstable and leggy tree
- Sew baubles onto your tree using red yarn, wrapping it around your yarn needle four times at the bottom and three times towards the top part of the tree
- Sew the two sides together with wrong sides together using over-sew stitching
- Attach a loop to the top
Please note that the material on this blog is for personal use and for use in classrooms only.
It is a copyright infringement and, therefore, illegal under international law to sell items made with these patterns.
Use of the toys and projects is at your own risk.
©Christina Sinclair Designs 2015
Quick Quiz Answers
- John Constable (English)
- Vincent Van Gogh (Dutch)
- Joseph Turner (English)
- Leonardo De Vinci (ltalian)
- Pablo Picasso (yes her face is supposed to look like that – it was the painter’s style of painting) (Spanish)

Pablo Picasso
And just one more message this week…

For an Embroidery Stitches Chart
Check out Blog Post 3