Salty Sam’s Fun Blog for Children
Number 233
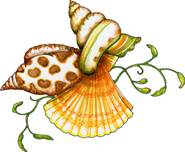
Shells
Hello Everyone
Last week, you will remember, l was telling you about nuts.
When nuts grow, they have a shell around them to protect them. Shells and skins are often found in nature. They are a form of protection.
Have you ever peeled an orange and then left it? You would have seen how dry the surface of the orange segments became after being exposed to the air without the protection of the peel.
Your skin gives you protection and regulates your body temperature – it is the biggest organ of your body.
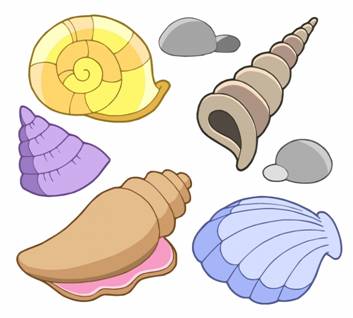
How many types of shells can you think of?
Shells give protection from the external (outside) environment to all sorts of things. There are shells on seeds but also the snails in your garden and animals like tortoises as well as lots of creatures in the sea.
Have you ever looked at a snail’s shell and noticed how stripy it can be?
This shell is sometimes called an exoskeleton – meaning skeleton on the outside.
Snails live on land and in the water. This can be fresh water or sea water. Land snails can’t hear but they have eyes and a sense of smell that helps them find food. They have two pairs of tentacles. Their eyes are on the larger pair and the smaller pair is used for smelling and finding their way around.
The snail’s shell is made of something called calcium carbonate. This shell keeps growing for as long as the snail grows. The snail just keeps adding calcium carbonate to the edge its shell until it has grown to its full size and this is why it has such a stripy appearance – because it was formed in one layer at a time. This shell is there to protect the snail’s very soft body.
When snails are disturbed, they withdraw into their shells and in periods of very dry weather the snail will hide in its shell and seal up the entrance to stop its body from drying up. ln the cold winter weather, a snail will hibernate in the ground.
Slugs and snails also produce mucus which protects their bodies from sharp surfaces. You will notice this as a silvery trail that they leave behind them as they move.
Land snails vary greatly in size. Some are very tiny and some, like the Giant African Land Snail reach 30cm/12 inches long – and sometimes even more.
Snails have different shaped shells. They can be rounded, pointed, quite flat or quite high.
Snails belong to a group of animals called gastropods. This is Latin for a ‘belly-footed animal’. ln the animal world, gastropods are the second largest group of named species after insects. They are found all over the world and in very different types of habitats (living conditions).
The shell of a tortoise or turtle is made from bone and cartilage – like an animal’s skeleton. Corals have skeletons too – they are animals even though they sometimes look very much like plants.
Lots of sea creatures have shells. Most of them grow around the creature. The nautilus will add to its shell as it grows just like the land snail does, but hermit crabs use the shell (of a gastropod) that they find and as they grow, they have to find a bigger shell to move into. They have soft bodies and like the protection that a shell gives them. Tiny octopuses too, might use a shell that they find to hide in to make them feel secure.
Shells that you find on the beach when you are beachcombing are from animals that have died. The shell is the only part of them left.
Most of the shells you find are from creatures called marine molluscs and there are lots of different species.
But crabs, barnacles and some marine worms also have shells.
The shells of sea urchins are called tests and are round and spiny.
Shells from sea animals are often more robust and colourful than shells of animals that live on the land.
Not all molluscs have an external shell. Some, like squid, cuttlefish and octopuses have internal (inside) shells and some, like sea slugs, have no shell at all.
There are more species of colourful, large, shallow-water, shelled marine molluscs in tropical regions than cooler or Polar regions.
There are water molluscs that live in freshwater too.
There are about 100,000 species of mollusc in the world.
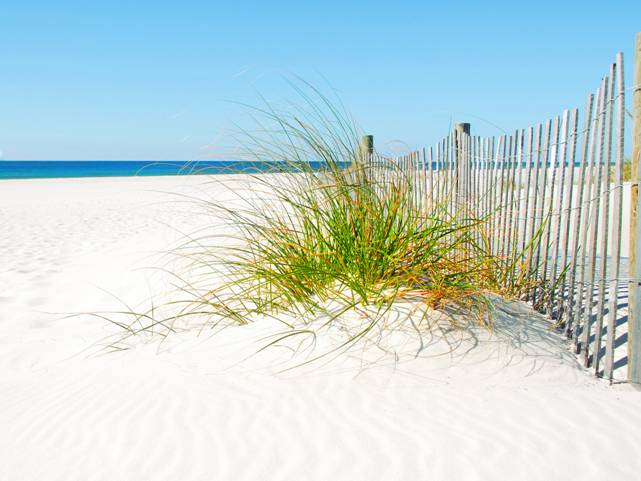
Seashells can be found quite easily at the edge of the sea where they are often washed up. There is a beach in Western Australia where the whole beach is made of cockle shells. You can find shells at the sides of lakes and rivers as well.
Commercial collecting of shells to sell, often involves the killing of the animals that live in them. This can harm populations of rare creatures.
The most common shells washed up are what are called bivalves. There are more than 15,000 species of bivalves that live in sea water and fresh water. Examples of bivalves are clams, oysters, scallops and mussels.
Bivalves mostly have two identical shells that are held together by a flexible hinge. But some only have one shell or none at all.
These shells are made of calcium carbonate and are formed in layers as the animal secretes (oozes) the necessary chemicals to form the shell.
Most of these animals are filter feeders – that means they draw water in through gills which trap tiny particles of food which are then digested. Creatures like mussels just secure themselves to something like a rock or the leg of a pier and let the water wash over them. The currents in the water will bring food to them.
lf you want to identify the shells that you find when you are beach combing, you will need to take a book with you called a field guide. This is nothing to do with fields. The term ‘in the field’ means going outside to study something. lt is going to the place where something is happening rather than bringing something into a classroom.
Lots of children and adults like to collect shells because they are so attractive. But throughout history and in prehistoric times, they have been used for different, useful purposes. They have been used as bowls, the bases of oil lamps, utensils like scoops, tools like scrapers and blades and even as a form of money. They have been used, unsurprisingly, to make jewellery too, like necklaces and clasps and they can be made into buttons as well.
Some people like to use them as decoration for boxes or frames for mirrors or pictures – you will probably need a glue gun to make these.
Shells have also been used all over the world in religious ceremonies and as religious symbols of various kinds.
Nowadays, oyster shells can be used as soil conditioner in gardening, shells can be ground up and added to poultry feed and are even made into musical instruments – as they have been for thousands of years.
Crushed egg shells are sometimes put around plants to deter slugs.
People who collect and study the shells of marine molluscs are called conchologists and there are clubs that people can join to share information about shells.
But be careful – you should not collect shells when they are still being used by a living creature.
Bye bye everyone – don’t forget to subscribe to my blog!
lf you like my blog, please support it by telling all your friends and followers about it.
Thank you!
And see you again next Fun Friday!
Love and kisses
Salty Sam

www.christina-sinclair.com
Bill and Bob’s Joke of the Week![]()
![]()
Bill: What did one skeleton say to the other skeleton?
Bob: l don’t know. What did one skeleton say to the other skeleton?
Bill: lf we had any guts, we would get out of here!
Salty Sam © Christina Sinclair 2015
Unauthorized use and/or duplication of material from this blog without express and written permission from this blog’s author and owner is strictly prohibited.
Links may be used to www.christina-sinclair.com
Picture Gallery
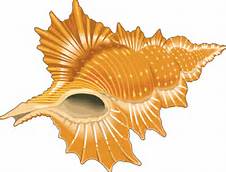
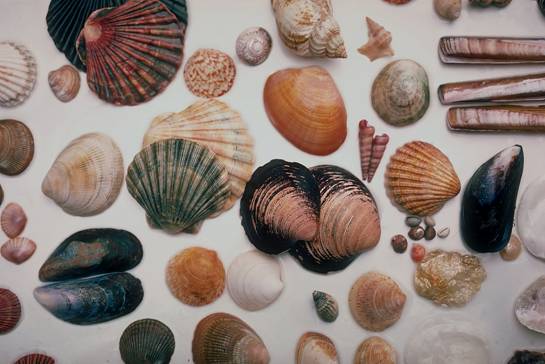
Shells can have many shapes
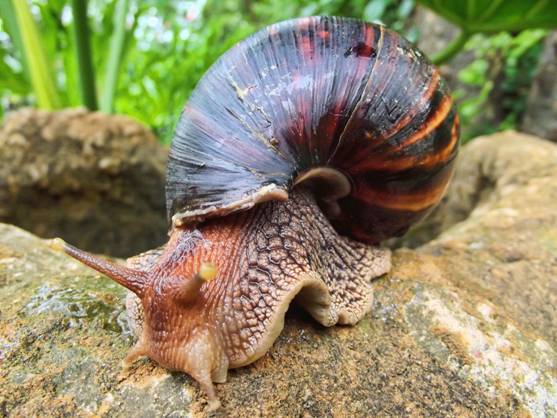 Giant African land snail
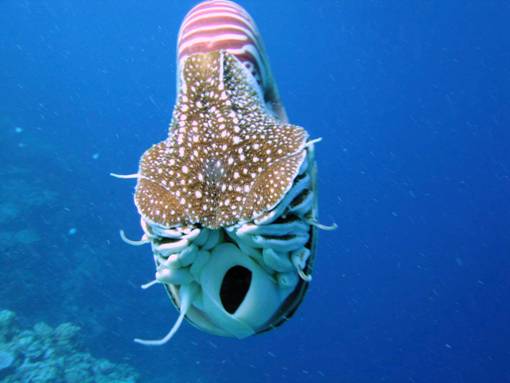 Nautilus
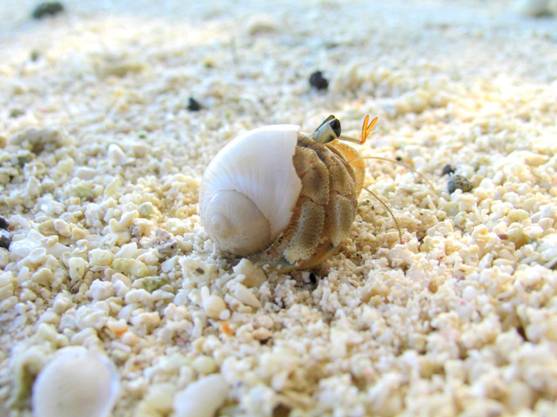 Hermit crab
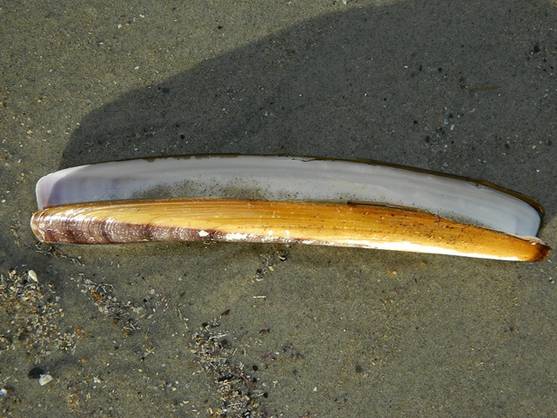 Razor shells are hinged
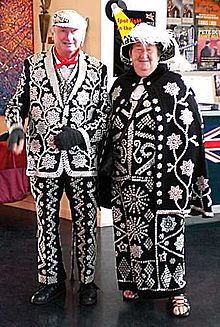 Pearly king and queen in London with clothes decorated with shell buttons
 THE SALTY SAM NEWS DESK

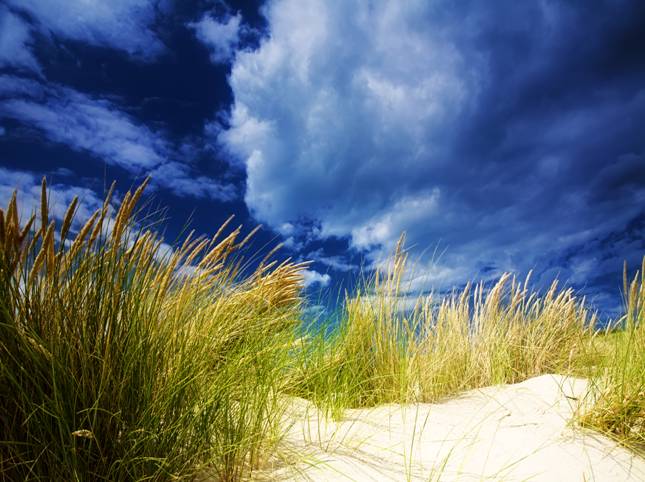
One day this week, Auntie Alice said that the weather was so nice they would have their lunch on the beach.
Sometimes when you live near a beach, funnily enough, you don’t seem to go down there as much as you might want to.
Anyway, they packed a picnic up and went down for a few hours.

Auntie Alice said it was important that they all put sunscreen on before they went – the sun always has a stronger effect when you are near the coast.
She also told them not to jump straight into the sea but to get in slowly.
Did you know it is very, very dangerous to jump into cold water when you are hot?
Then she told them to look out for some pretty seashells because she had an idea about what they could do with them.
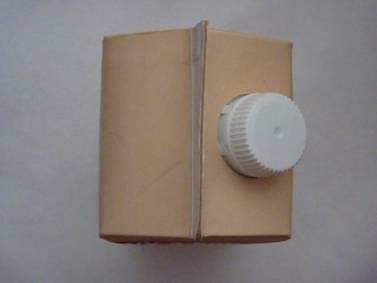
When the children unpacked everything, they took some photographs of some of the things they had to create a quiz for this week’s blog post.
Can you see what the things were?


*********************
TO ADVERTISE ON THIS BLOG
PLEASE CONTACT:
christina.sinclair.ads@aol.co.uk
*********************

Hobby Time
When you pick sea shells up off the beach you might want to take them home as a souvenir of your holiday.
lf you want to take them home and use them for crafts, there is a really easy way to dye them different pastel colours.
You will need some food dyes in whichever colours you want to use.
Then you will need some small, glass bowls to mix the dye in.
You will also need some water to dilute the dyes and some vinegar to help the shells absorb the dyes.
You will need something to stir the dye bath – use something that can be thrown away or recycled like a wooden skewer.
So, put four measures of water into your bowls and then add one measure of vinegar. (Test how much a measurement will be first according to how big your bowls are).
lf you buy the food dye in the three primary colours of red, blue and yellow, you can mix them together to make orange, green and purple.
You will only need a few drips in a small dye bath.
You need to leave the shells in the dye for about 10 – 15 minutes and then they can be left on kitchen paper to dry.
Wash your fingers well and be careful not to leave a mess.
lt’s the Weekend!

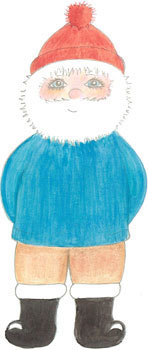
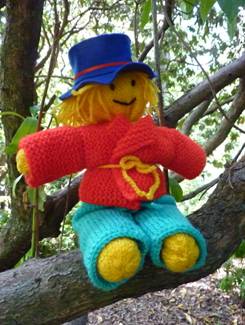
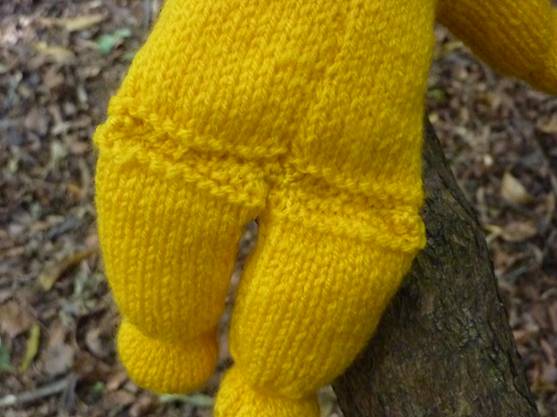
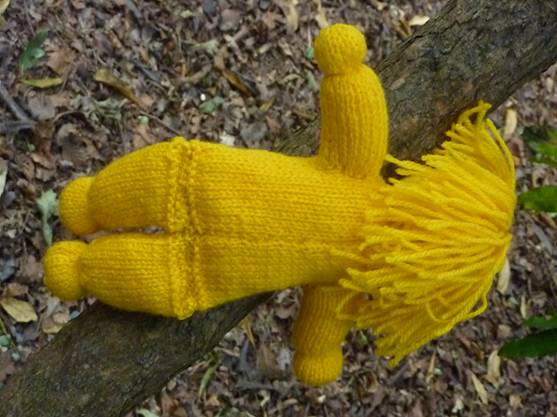
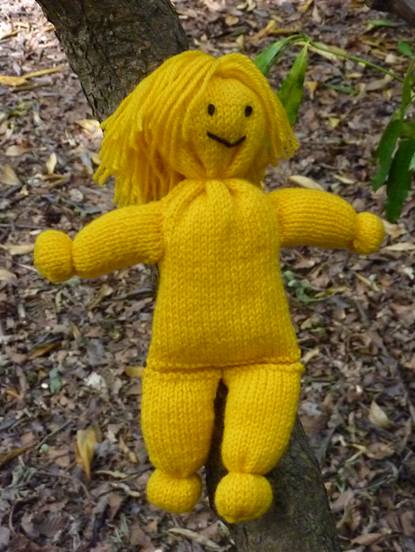
HOW TO MAKE A KNlTTED SCARECROW
This cute, little scarecrow is a lovely cuddly companion. He is definitely an indoor sort of scarecrow. He is really easy for a knitting newbie to knit!
BODY (KNIT ONE)
Using 4mm knitting needles and straw-coloured dk yarn cast on 45 stitches
Knit 2 rows in garter stitch
Knit 56 rows of stocking stitch
Don’t cast off but pull a length of yarn about 30cm long through your stitches as you pull them off the needle – use a yarn needle to pull the yarn through
ARMS (KNIT TWO)
Using 4mm knitting needles and straw-coloured dk yarn cast on 18 stitches
Knit 2 rows in garter stitch
Knit 26 rows of stocking stitch
Don’t cast off but pull a length of yarn about 30cm long through your stitches as you pull them off the needle – use a yarn needle to pull the yarn through
LEGS (KNIT TWO)
Using 4mm knitting needles and straw-coloured dk yarn cast on 24 stitches
Knit 2 rows in garter stitch
Knit 30 rows of stocking stitch
Don’t cast off but pull a length of yarn about 30cm long through your stitches as you pull them off the needle – use a yarn needle to pull the yarn through
HAIR
Wind some yarn about 50 times around a piece of card 20cm across
Sew across the top strands to make a centre parting each side of the card using a yarn needle (making sure that you leave no length loose) with yellow yarn and slide the yarn off the card
TO MAKE UP
- Embroider a face on the scarecrow using black yarn before or after you make this body part up according to personal preference
- Sew up the back seam of the body and head piece right sides together using over-sew stitching
- Turn right side out
- Sew the front to the back along the bottom of the knitting with wrong sides together using over-sew stitching keeping the back seam in the middle of the back
- Stuff the body and then pull the top of the head together
- Wind some yarn tightly around the neck and fasten the yarn securely into the back seam
- Pull the ends of the arms and legs in and sew up the side seams with right sides together using over-sew stitching
- Stuff and sew along the tops to seal with over-sew stitching
- Attach the arms and legs to the body using over-sew stitching – put the arm seams at the bottom and the leg seams to the inside
- Wind some yarn around the wrists and ankles, pull tight and secure into the side seams
- Lay the two lines of stitching that you put into the hair onto the head – one at the top and one at the back – sew over the top of the stitches that are already there to secure the hair to the head and them cut the loops and trim to make scarecrow hair
Please note that the material on this blog is for personal use and for use in classrooms only.
It is a copyright infringement and, therefore, illegal under international law to sell items made with these patterns.
Use of the toys and projects is at your own risk.
©Christina Sinclair Designs 2015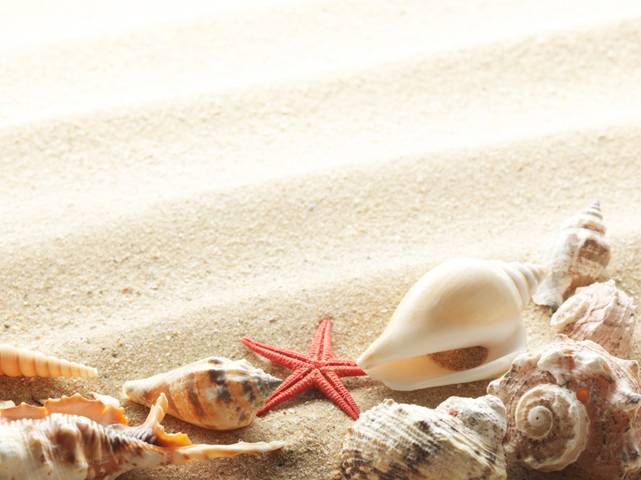
Answers to the News Desk Quiz
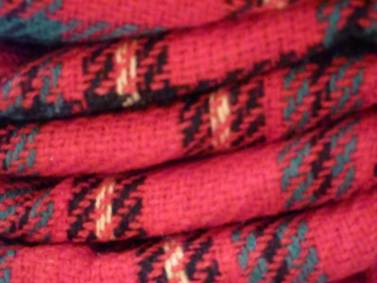
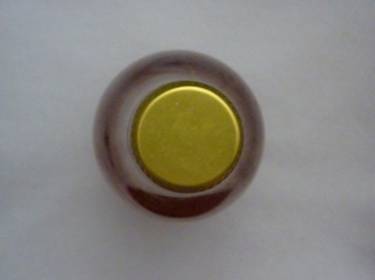
The picnic blanket, the top of a bottle and the top of a juice box
For an Embroidery Stitches Chart
Check out Blog Post 3